


FRS Pros Blog
Tip of the Week: Creating Google Forms that Auto-Populate Google Sheets

There are several reasons to use a form to collect data for your business, from customer impressions and service needs to employee feedback about internal matters as a means of collaborative decision-making. The trouble comes when it is time to compile all the responses… unless you know how to use the tools at your disposal.
For this week’s tip, we’re walking through the process of creating a form that self-populates a spreadsheet using Google’s toolkit.
It’s actually a lot easier than you might think.
You’ll Rely on Two Tools: Google Forms and Google Sheets
Let’s walk through the process.
First, Start with Google Forms In Google Drive, select New in the top-left corner and then Google Forms. This will open the start of a brand new form.

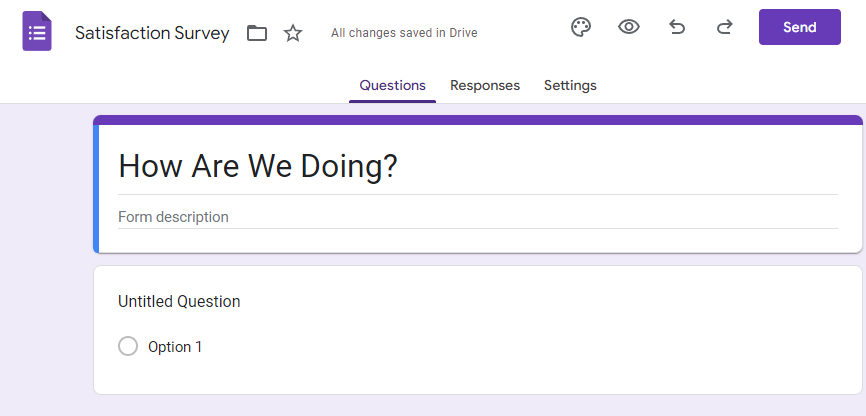
Change the document name to whatever you need to keep it organized, and update your form title to the name you want your participants to see. The name you’ve given the document will automatically populate here, but chances are you will want to name it something else.
Let’s assume this is meant to be a client satisfaction survey, so we’ll update the document name to “Satisfaction Survey” and call the form “How Are We Doing?”
You’ll also see the option to create a form description—your opportunity to sell your form and provide any pertinent information or instructions you want to communicate to the person filling it out. You can also add more instances of this module throughout your form to differentiate between different sections. We’ll touch on this a little more shortly.
From there, we can move on to the questions we want our form to include. Fortunately, Google gives us plenty of options to customize our form’s formatting and the fields we want our audience to fill out.
How to Populate Your Form
On the right side of the module, you’ll see a variety of buttons.

Each of these buttons offers a different utility:
- Add question - This allows you to add another question module to your form
- Import questions - This allows you to import questions you’ve already populated in another form
- Add title and description - This allows you (as we mentioned before) to add an additional form title and form description to help differentiate between different sections.
- Add image - This allows you to insert an image from various sources into your form.
- Add video - This allows you to insert a YouTube video by searching for it or identifying the appropriate URL.
- Add section - This allows you to split your form into sections (or different steps) so your participants can navigate through or submit it.
Returning to the add questions button, you can choose from various question types depending on your needs and the intention of your form. You can also establish if the form will be accepted without each question being filled out. These question types are followed by examples of how they look in Google Forms:
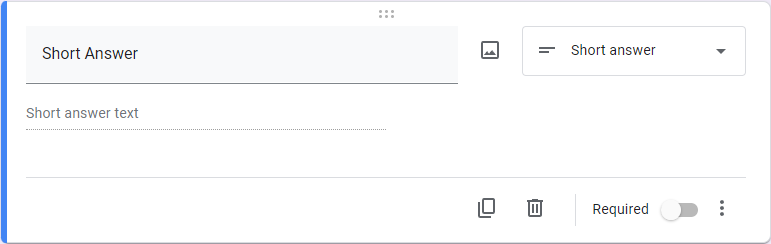
Short Answer
This module allows you to prompt an audience member to provide a brief, one- or two-sentence response to a question.
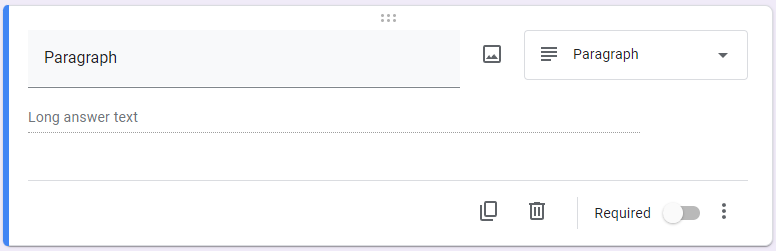
Paragraph
This module allows you to prompt an audience member to write a short paragraph responding to your question.
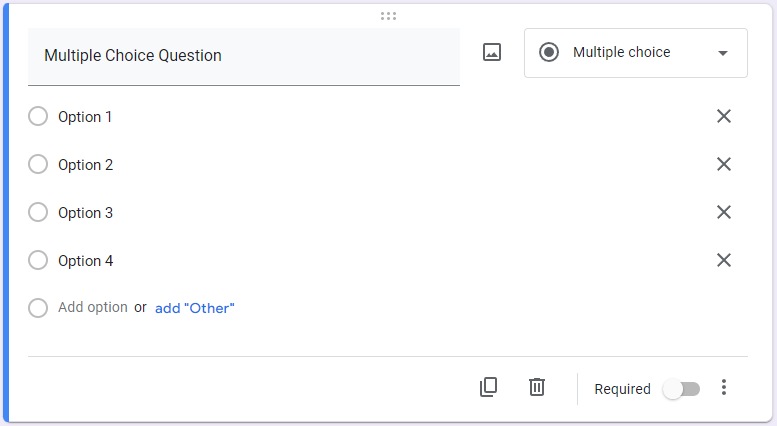
Multiple Choice Question
This module allows you to create a multiple-choice question for your audience member to answer, including an “Other” field where they can insert their own response.
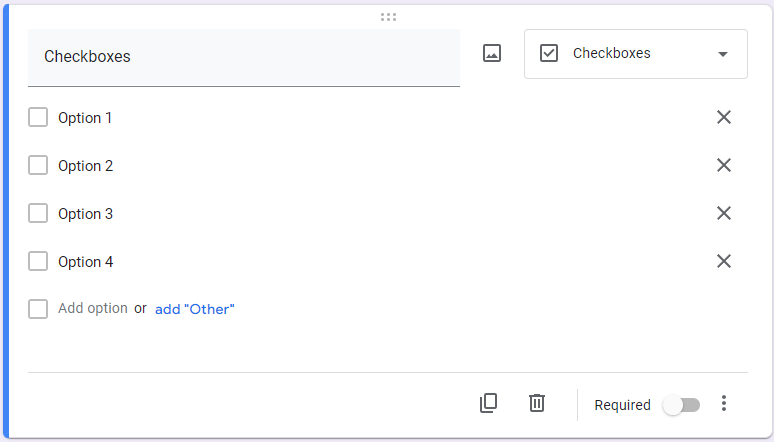
Checkboxes
This module allows you to create a list of checkbox options for your audience member to select from, including an “Other” field where they can insert their own response.
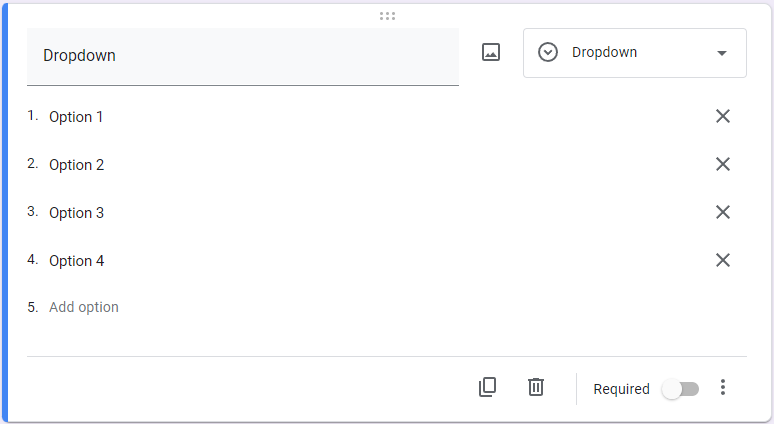
Dropdown
This module allows you to create a dropdown box with options for your audience member to select from.
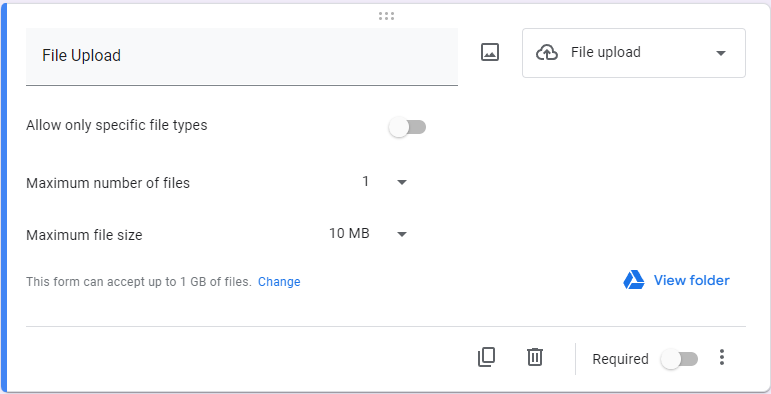
File upload
This module allows you to enable your audience member to upload documents from Google Drive, with you establishing limits to what can be uploaded.
Linear Scale
This module allows you to give your audience members a numbered range within which they can provide a value in response to your question.

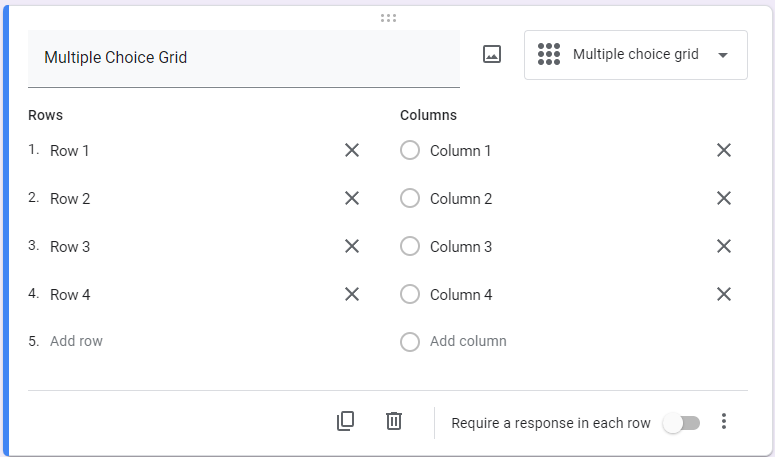
Multiple Choice Grid
This module allows you to create a group of multiple choice questions formatted as a grid, which makes asking numerous questions that would be answered the same way much easier.
Checkbox Grid
This module allows you to create a group of multiple choice questions formatted as a grid, with the option to select multiple answers for each question. This makes asking numerous questions that would be answered the same way much easier.

Date
This module enables you to give your audience the capability to select a date, whatever reason a date needs to be specified.

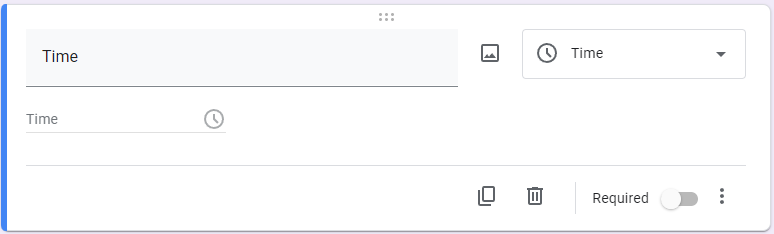
Time
This module enables you to give your audience the capability to select a time, whatever reason a time needs to be specified.
Reviewing Your Responses in Google Sheets
You may have noticed that three options follow you as you scroll down the page: Questions, Responses, and Settings.

The Questions tab opens by default in Google Forms, so we’ve been operating in it thus far. As the name suggests, it is where you configure the questions that your form asks. The Responses allow you to review what your audience has submitted, visualizing the data in a few different formats and allowing you to look at this data in a few different ways, while Settings is effectively what you’d expect, giving you options to make your form an interactive quiz—giving you an entirely new use case—and determining how you collect your responses.
However, it is back in the Responses tab that we can find the element that is pertinent to our processes today: creating a Google Sheet
Moving Your Form Responses to Google Sheets
This part is laughably simple. Under Responses, you’ll also find a button to Link to Sheets.
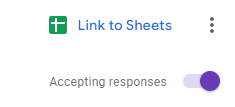
That’s it. It’s as simple as that. Clicking that button will pull up a window asking you whether to add the results to an existing spreadsheet or create a new one to display your outcomes. The three-dot menu next to the button allows you to set up email notifications for new responses, adjust where your responses populate, and enable you to unlink your form, download a CSV of your responses, print all your responses, or delete all of them entirely. It will even keep it up to date as more responses come in.
Hopefully, This Walkthrough Helps Make the Process Clear
This is just one small sample of what your technology can do in the right hands. We can help ensure that its support and maintenance are in the right hands, too. Reach out to us to learn more about our managed services.
About the author